
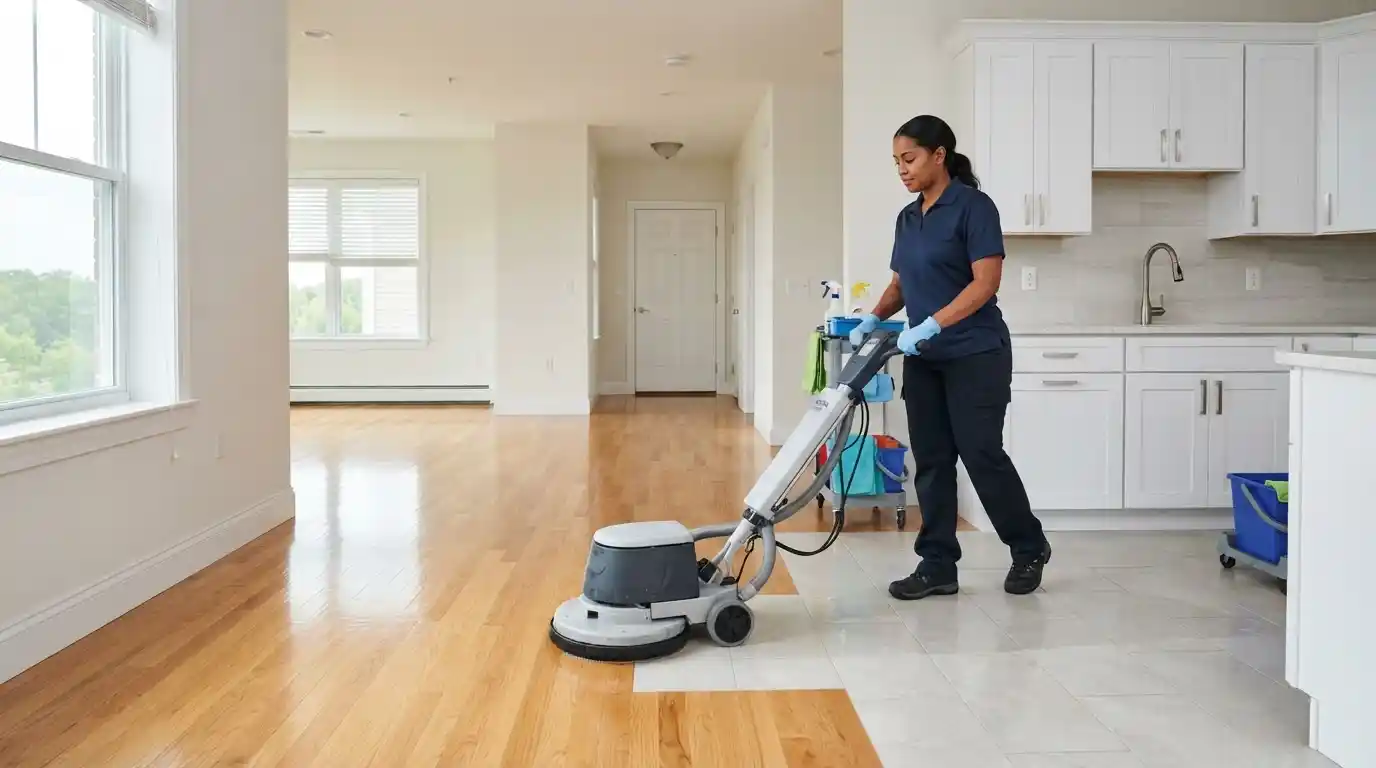
Back-to-school turnover season compresses inspections, repairs, specialty cleaning, and move-in readiness into a narrow window.
Across university-adjacent rentals and multi-tenant properties, one missed moisture source or buried odor can trigger a callback after move-in.
A strong rental turnover cleaning checklist does more than improve appearance. It helps you separate normal wear from damage, locate re-wetting, protect finishes, and prevent odors from returning when the HVAC starts.
Start With a Condition Map, Not a Cleaning Cart
The first walkthrough should identify damage, moisture, contamination, and access problems before cleaning changes the evidence.
Document the Unit From Ceiling to Floor
Use the same route in every property. Photograph ceilings, registers, walls, baseboards, flooring transitions, cabinets, plumbing connections, appliances, and mechanical closets. Note stains, swelling, corrosion, loose grout, carpet ripples, and odor intensity.
Mark each item as cleaning, repair, replacement, or further assessment. Keep workers away from standing water near electrical devices and treat unknown water as potentially contaminated. This keeps a cleaner from treating a leak stain as surface soil or wet carpet as an ordinary shampooing task.
Sequence Repairs Before Specialty Cleaning
Complete leak repairs, drywall work, painting, and dusty maintenance before final carpet, tile, or duct cleaning. Otherwise, construction dust can settle on clean fibers and enter open registers. Leave enough drying and inspection time before furniture or boxes return.
Inspect Carpet for Soil, Moisture, and Odor
Carpet decisions should reflect fiber condition, contamination, padding, and subfloor moisture rather than appearance alone.
Separate Surface Soil From Deeper Problems
Vacuuming may address loose debris, but it will not resolve sticky residue, pet urine below the face fibers, wet padding, or filtration soil along walls. Dark perimeter lines can indicate airflow-related soil accumulation, as explained in this guide to cleaning dark carpet edges.
Check closets, corners, stairs, and areas beneath former furniture. Record tears, burns, delamination, wrinkles, and seams that may require repair rather than cleaning.
Prevent Re-Wetting During the Make-Ready Window
Do not repeatedly soak a difficult spot. Excess solution, poor extraction, or rushed furniture placement can extend drying and transfer moisture into padding or wood components.
Sticky fibers after a DIY attempt may indicate detergent left behind. The causes and corrective steps are outlined in this article on carpet cleaning residue.
When the carpet is dry, structurally sound, and suitable for cleaning, professional carpet cleaning can address traffic soil, stains, and odor treatment within the turnover scope.
Evaluate Air Ducts and HVAC-Related Odors
Registers, drain pans, filters, and duct interiors can reveal whether an odor is generated, collected, or distributed by the HVAC system.
Begin With Accessible Components
Inspect return grilles, supply registers, the filter area, condensate pan, visible insulation, and the floor around the air handler. Dust on a grille does not prove that the entire duct system needs cleaning. Standing water, wet insulation, debris discharge, vermin evidence, or substantial visible contamination deserves closer review.
The EPA’s air duct cleaning guidance recommends correcting moisture and contamination causes before cleaning or replacing affected components.
Define the Scope Before Work Starts
Ask how the system will be inspected, which components are included, how debris will be contained, and what happens if wet insulation is found. These questions for professional duct cleaners help property managers compare scopes and inspection methods.
When inspection supports the need, air duct cleaning can follow dusty repairs and precede the final wipe-down.
Restore Tile and Grout Without Hiding Moisture
Tile is durable, but porous grout, failed sealant, loose transitions, and wet wall assemblies can hold problems beneath the surface.
Inspect Before Scrubbing
Check shower corners, tub surrounds, kitchen backsplashes, entryways, and floors around toilets and sinks. Look for cracked grout, loose tiles, hollow sounds, dark joints, persistent dampness, and failed caulk. Cleaning cannot correct movement, plumbing leaks, or moisture behind the assembly.
Grout discoloration can reflect soil, residue, moisture exposure, or unsuitable products. Practical prevention methods appear in this guide to reducing grout yellowing.
Match the Method to the Material
Identify whether the surface is ceramic, porcelain, natural stone, or another finish before applying chemicals. Test products in a small area and follow label directions. Avoid combining cleaning agents. Protect adjacent finishes and repaired caulk.
If grout remains dark or damp after cleaning and ventilation, investigate the moisture source before sealing or recoloring it.
When carpet, ductwork, tile, and persistent odor issues overlap or hidden moisture may affect the make-ready schedule, call 352-505-3321 to discuss a coordinated, safety-led cleaning and inspection scope before the next resident moves in.
Trace Odors to Their Source
Deodorizing works only when the underlying residue, moisture, drain problem, or contaminated material has been addressed.
Build an Odor Map
Walk the empty unit with the HVAC off, then repeat with it running. Note whether the odor is strongest near carpet edges, cabinets, drains, appliances, bathrooms, closets, or registers. Record whether humidity or rain changes the intensity.
Pet odor may extend into padding, tack strips, baseboards, or subflooring. Cooking odors can remain on cabinets, walls, filters, and soft materials. Musty odor may point to moisture rather than a cleaning-product problem.
Pause When Moisture or Mold Is Suspected
Do not cover a musty condition with fragrance, paint, or new flooring. Follow EPA mold and moisture guidance by correcting the water source and drying affected materials. Avoid disturbing extensive growth or uncertain contamination.
Qualified assessment may be appropriate when the source is hidden, or the affected area is large.
Use a Turnover Sequence That Prevents Rework
A consistent order helps vendors and maintenance crews avoid contaminating completed work.
Complete the Work in Six Passes
- Photograph and document the vacant unit.
- Stop leaks and address electrical, plumbing, HVAC, or structural concerns.
- Remove abandoned debris under applicable lease and legal procedures.
- Complete repairs, patching, sanding, and painting.
- Perform duct, tile, carpet, and odor-source cleaning in the planned order.
- Verify dryness, ventilation, finish condition, and final appearance.
Avoid carpet cleaning before painters, flooring repairs, or dusty HVAC work. Keep clean registers covered only when equipment is off and the covering will not create an operational hazard.
Protect the Unit After Cleaning
Use clean shoe covers, limit access, and keep tools off finished carpet. Do not place furniture on damp fibers or block airflow needed for drying. Record the cleaning date, known stains, repairs, moisture concerns, and follow-up areas.
Finish With a Rental-Ready Quality Check
The final walkthrough should confirm that the unit is dry, functional, clean, and documented rather than simply scented and staged.
Test the Unit Under Normal Conditions
Run the HVAC, open cabinets, operate exhaust fans, and inspect beneath sinks and around appliances. Recheck odors after the property has been closed. Look for fresh condensation, returning stains, damp grout, carpet texture changes, or paint failure.
Create a Clear Handoff Record
Save dated photos, invoices, repair notes, product information, and unresolved observations in the property file. For multi-tenant properties, note shared walls, common duct paths, and plumbing stacks that may affect adjacent units.
A disciplined back-to-school rental turnover protects more than appearance. It reduces rework and helps you identify lingering moisture, odor absorption, warping, corrosion, and finish failure before occupancy.
Frequently Asked Questions
- What should property managers inspect before cleaning begins?
Start with ceilings, plumbing fixtures, mechanical areas, flooring, walls, cabinets, and appliances. Photograph stains, damage, odors, and possible moisture before cleaning changes their appearance. Classify each condition as cleaning, repair, replacement, or further assessment.
- Should carpet be cleaned before painters and repair crews finish?
No. Drywall dust, sanding residue, paint droplets, and repair debris can contaminate freshly cleaned carpet. Complete dusty work first, remove loose debris, and clean from upper surfaces toward the floor. Schedule carpet work near the end of the make-ready sequence.
- How can you tell whether carpet needs cleaning or replacement?
Evaluate stains, odors, seam condition, backing, padding, and evidence of repeated moisture. Cleaning may be appropriate when the material remains structurally sound, and the contamination is removable. Delamination, widespread damage, persistent contamination, or deteriorated padding may require replacement assessment.
- Why can pet odor return after the carpet looks clean?
Urine or other residue may have reached the carpet backing, padding, tack strips, baseboards, or subfloor. Surface cleaning can temporarily reduce the odor without reaching its deepest source. Map the affected area and inspect each material layer before choosing a treatment.
- Does dust on an HVAC register mean the ducts need cleaning?
Not necessarily. Return grilles commonly collect surface dust as air moves through the system. Inspect accessible components for heavy debris, moisture, damaged insulation, vermin evidence, or material leaving supply registers. Correct the underlying cause before approving a broader cleaning scope.
- When should air ducts be inspected during a turnover?
Inspect them after the unit is vacant and before final cleaning. Complete sanding, drywall, and other dusty repairs before any approved duct cleaning occurs. Follow with a final wipe-down so settled debris does not remain on move-in surfaces.
- Should stained grout be sealed immediately after cleaning?
Not until the grout and surrounding assembly are dry and stable. Sealing damp grout can hide unresolved moisture or create an uneven appearance. Repair plumbing leaks, failed caulk, loose tile, and movement before applying a finish treatment.
- What should you do with a persistent musty odor?
Identify where it is strongest and determine whether HVAC operation, humidity, or rain changes it. Inspect carpet edges, cabinets, plumbing areas, wall bases, and mechanical spaces for moisture. Avoid masking the odor with fragrance or paint before correcting the source.
- How long should carpet or grout dry before move-in?
Drying time varies with material, cleaning method, airflow, humidity, and the amount of moisture used. Do not rely only on a dry-looking surface, especially when carpet padding or porous grout is involved. Confirm that affected materials are dry before replacing furniture or releasing the unit.
What turnover records should be kept for each unit?
Save dated before-and-after photos, repair notes, invoices, product information, and inspection findings. Record known stains, prior moisture areas, odor sources, and any conditions that require monitoring. Consistent records make future turnovers and recurring-problem investigations easier
11. When should routine cleaning stop for a safety assessment?
Stop when workers encounter standing water near electricity, suspected sewage, structural instability, extensive growth, or unknown contamination. Isolate the area and avoid disturbing affected materials. Arrange a qualified assessment before cleaning or demolition continues.